
A mixing concrete calculator is a simple tool that turns guesswork into certainty. It gives you the exact amount of cement, sand, and aggregate needed for your job, taking the headache out of ordering materials. Getting this right from the start prevents costly over-ordering and the structural risks of coming up short. Think of it as the first step towards a successful, on-budget concrete pour.
Why Precise Concrete Calculations Matter
Getting your concrete mix right is the foundation of any solid construction project. A miscalculation is not just a minor hiccup. It can lead to a cascade of problems, from wasted materials and blown budgets to structural weaknesses that need expensive rework. It is the difference between a durable, long-lasting job and a potential failure waiting to happen.
For groundwork specialists and builders across the UK, using a mixing concrete calculator is no longer a “nice-to-have”. It is a key part of the planning process. It marks a crucial shift away from rough estimates to a data-driven approach. This ensures every bag of cement and shovel of aggregate is accounted for and used efficiently.
Navigating Market Volatility with Precision
The need for accuracy is even more critical in today’s market. The UK’s ready-mixed concrete sector has faced serious challenges recently, with sales volumes dropping by 11.5% to a 62-year low. In a volatile market like this, every bit of material counts.
Precise calculations can help you optimise material use and potentially save 10-15% on waste for groundwork projects. That is a significant saving that goes straight to your bottom line.
This focus on precision is not unique to concrete. It is a core principle in any construction discipline. For example, an HVAC load calculation acts as a critical decision-making tool, not just a bit of maths. It is another great example of how getting the numbers right from the start leads to smarter project management across the board.
A well-planned project starts with accurate numbers. Miscalculations on material quantities are one of the most common, yet avoidable, reasons for project delays and budget overruns. Taking the time to calculate correctly saves far more than just money—it saves time and reputation.
Whether you are laying a simple shed base with a small cement mixer or preparing foundations for a major extension using larger plant machinery, the principle is the same. Accurate planning is your best defence against unforeseen costs and structural headaches, guaranteeing a professional result every time.
Calculating Your Concrete Volume for Any Shape

Before you think about mix ratios, your first job is to work out how much concrete you need. Getting this volume calculation right is the difference between a smooth pour and a stressful day. You can avoid running short or trying to get rid of costly excess.
The goal is simple: turn your on-site measurements into a clear figure in cubic metres (m³).
Thankfully, you do not need a maths degree for this. Most shapes you will encounter on a building site—like slabs, footings, or post holes—rely on simple formulas. By breaking your project into basic geometric shapes, you can figure out the total volume with confidence.
Quick Guide to Calculating Concrete Volume
To make things even easier, here is a quick reference table for the most common shapes you will be working with. Just measure your length (L), width (W), depth (D), or radius (r) in metres, and plug them into the right formula.
| Project Shape | Volume Formula (Metric) | Example Calculation (L=3m, W=2m, D=0.15m) |
|---|---|---|
| Rectangular Slab/Footing | Length × Width × Depth | 3m × 2m × 0.15m = 0.9m³ |
| Circular Slab/Column | π × Radius² × Depth | (Using r=1m, D=0.15m): 3.142 × (1m × 1m) × 0.15m = 0.47m³ |
| Triangular Area | 0.5 × Base × Height × Depth | (Using Base=3m, H=2m, D=0.15m): 0.5 × 3m × 2m × 0.15m = 0.45m³ |
This table gives you a solid starting point for most jobs, ensuring you are not just guessing when ordering materials.
Calculating for Rectangular Slabs and Footings
The most common shape you will come across is the rectangle, used for everything from shed bases and patios to pathways and strip footings. The calculation is wonderfully simple: just multiply the length by the width, then by the depth (or thickness).
The golden rule is to keep your units consistent. Before you do anything else, convert all your measurements into metres.
- Formula: Length (m) × Width (m) × Depth (m) = Volume (m³)
Let’s say you are putting down a base for a new garden workshop. Your dimensions are 5 metres long, 4 metres wide, and the slab needs to be 150mm deep. First, convert the depth to metres by dividing by 1,000, so 150mm becomes 0.15m.
- Example Calculation: 5m × 4m × 0.15m = 3.0m³
That tells you that you need exactly three cubic metres of concrete for the job. You can learn more about how to figure how much concrete you need for different projects in our other guide.
Calculating for Circular Columns and Posts
But what if your project involves circles, like setting fence posts or pouring concrete piers for a deck? The principle is the same, but the formula is a little different for the round shape. You will need the radius of the circle (which is half its diameter) and the depth of the hole.
The formula uses Pi (π), which for our purposes is 3.142.
- Formula: Pi (π) × Radius² (m) × Depth (m) = Volume (m³)
Be careful here: you need to square the radius (multiply it by itself), not just double it. It is a common slip-up that will leave you seriously short of concrete.
For example, imagine you are setting gate posts in holes that are 400mm across (0.4m diameter) and 1 metre deep. The radius is half the diameter, which gives us 0.2m.
- Example Calculation: 3.142 × (0.2m × 0.2m) × 1m = 0.126m³ per post hole.
With a precise figure like that, you can accurately scale up your material order for the total number of posts, ensuring nothing is left to chance.
Decoding Concrete Mix Ratios and Grades
The numbers you see on a bag of cement—like 1:2:4 or C25—can look a bit like a foreign language. But getting to grips with them is essential. They are the recipe for your concrete’s final strength and durability. Understanding them is the first step before you use a calculator for your mix.
At its heart, a concrete mix ratio is just a simple breakdown of the main ingredients: cement, fine aggregate (sand), and coarse aggregate (gravel or stone). A ratio of 1:2:4 means one part cement, two parts sand, and four parts coarse aggregate. It is a classic, reliable mix you will see used for all sorts of general-purpose jobs.
These ratios are directly tied to concrete grades, which are the official classifications of strength. In the UK, you will come across grades like C15, C20, or C30. The “C” stands for Compressive strength. The number tells you the minimum strength the concrete will reach in megapascals (MPa) after it has properly cured for 28 days.
Matching the Mix to the Mission
Choosing the right concrete grade is not guesswork. It is about matching the concrete’s performance to what the job demands. A simple garden path does not need the same structural muscle as a foundation slab that will support heavy plant machinery.
To make things clearer, here is a quick guide to some of the most common concrete mixes and where they fit best.
Common Concrete Mixes and Their Applications
This table breaks down the typical UK concrete grades, their approximate mix ratios, and the kind of projects they are best suited for. It is a handy reference for planning your next pour.
| Concrete Grade | Typical Mix Ratio (Cement:Sand:Aggregate) | Common Applications |
|---|---|---|
| C15 | 1:3:6 | A lean mix for non-structural work like kerb bedding, blinding, and simple patio bases. |
| C20 | 1:2:4 | A versatile, all-rounder mix. Ideal for workshop bases, driveways, and internal floor slabs. |
| C25 | 1:1.5:3 | A stronger mix for demanding jobs like foundations with higher loads or reinforced concrete. |
| C30 & Above | Varies (often specialist mix design) | Reserved for heavy-duty commercial projects, pavement, and specific structural requirements. |
Getting the grade right ensures your finished work will stand the test of time, whether it is a small domestic job or a large commercial foundation.
You can find more detailed guidance on calculating concrete mixes for specific projects over on our dedicated page.
The Critical Water-to-Cement Ratio
While everyone focuses on the solid ingredients, the amount of water you add is just as vital. The water-to-cement (w/c) ratio is probably the single biggest factor that determines the final strength of your concrete. It is tempting to add more water to make the mix easier to work with. But doing so creates a weak, porous result that is prone to cracking and frost damage later on.
A lower water-to-cement ratio produces stronger, more durable concrete. Always add water gradually, aiming for a smooth, workable consistency that is not sloppy or wet. The perfect mix should hold its shape when you form it into a ball.
The UK cement industry is set to grow at a healthy 6.2% annual rate, largely driven by innovations in low-carbon concrete. These newer formulas often use supplementary materials that can cut the clinker content by 30-50%. This makes precise water calculations even more important for hitting the specified strengths.
Turning Your Concrete Calculations into On-Site Action
With your volume figured out and the right mix ratio chosen, it is time to get your hands dirty. This is the point where numbers on a page become actual piles of cement, sand, and aggregate. A good mixing concrete calculator is a huge help here. It quickly turns your required cubic metres into the number of 25kg bags and bulk bags you will need to order.
This step is just as important whether you are mixing a small batch by hand for a quick patch-up or firing up a cement mixer for a major pour. The real secret to strong, reliable concrete is consistent batching. A few inconsistent shovels or using different-sized buckets can throw your carefully planned ratio right out of the window.
Speed Up Your Workflow with the Right Plant Hire
For anything bigger than a few fence posts, mixing concrete by hand is a false economy. It is slow, back-breaking work, and getting a truly consistent mix is almost impossible. This is where hiring the right plant machinery transforms a huge task into a smooth, manageable process.
Hiring a properly sized cement mixer ensures every single batch is mixed thoroughly and to the same consistency. If your project needs a cubic metre or more of concrete, one of the smartest moves you can make is to pair your mixer with a site dumper.
Instead of wasting hours lugging heavy materials around in a wheelbarrow, a dumper lets you:
- Move entire bulk bags of sand and aggregate right to your mixing station.
- Transport freshly mixed concrete from the mixer to where you are pouring it, fast.
- Massively cut down on manual handling and physical exhaustion for you and your team.
Combining a mixer and a dumper is not just about saving your back; it saves an enormous amount of time, keeping your project on schedule and your labour costs under control.
This simple infographic shows how the mix ratio and grade you choose directly impacts the final quality and application of your concrete.
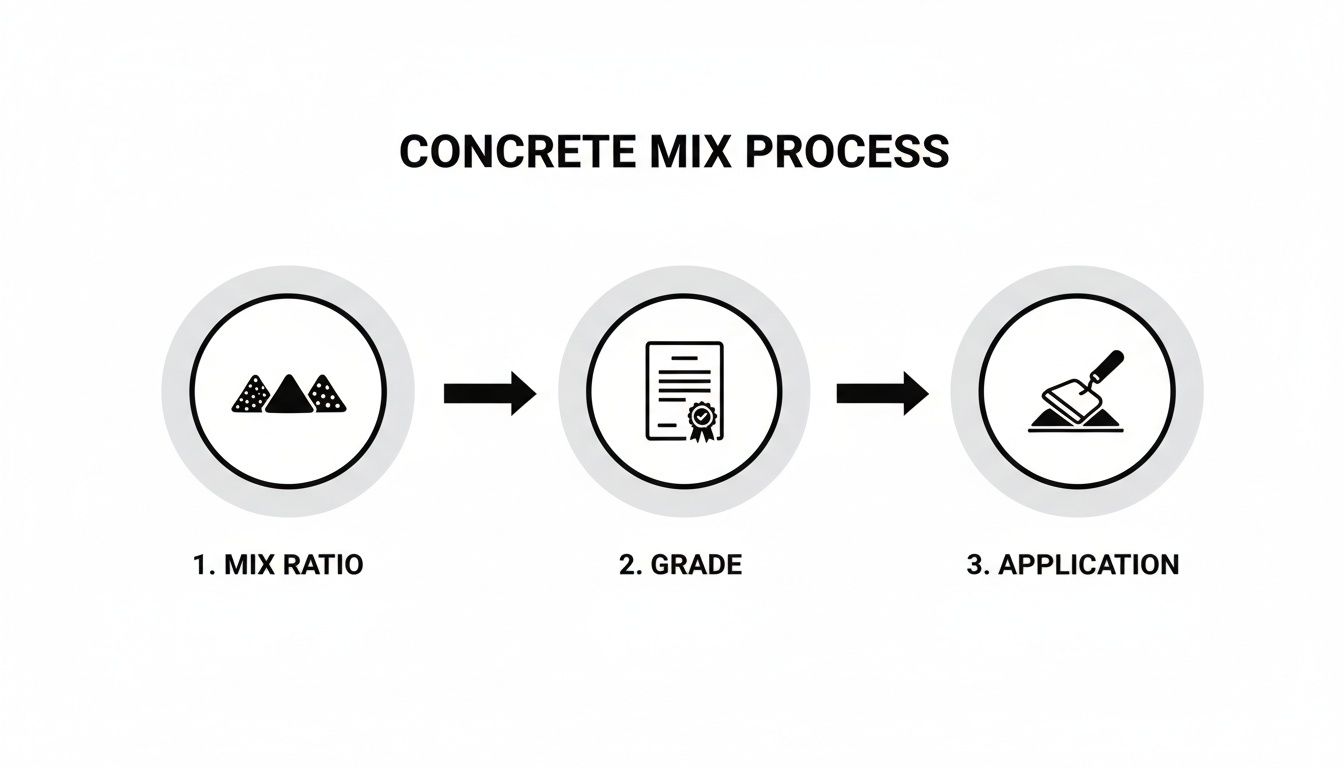
The main takeaway here is that every step builds on the last. A solid foundation needs the right grade, and getting the grade right depends entirely on an accurate mix ratio.
Batching for Rock-Solid Consistency
When you are making multiple batches for a single pour, consistency is everything. Each new mix needs to have the exact same proportions of cement, aggregate, and water. This is the only way to ensure your final slab or footing cures evenly and does not have any hidden weak spots.
A classic mistake is to measure the first batch perfectly and then just eyeball the rest. This almost always leads to patches of different strength and even different colours in the final pour. Use a consistent measure—like the same bucket—for every single component, every single time.
This becomes especially critical on larger jobs, like preparing footings. You can find more detail on the right tools for this kind of work in our guide to foundation work equipment.
Ultimately, the goal is to make each batch a perfect clone of the one before it. That is how you guarantee the structural integrity of your entire project, from the first mix to the last.
Avoiding Common Mistakes in Concrete Mixing

Even with the most accurate calculations, it is the small mistakes on site that can unravel a concrete job. Getting your numbers right is half the battle. But sidestepping common pitfalls is what ensures you get a strong, professional finish without costly waste.
One of the biggest oversights is forgetting to factor in waste and compaction. Fresh concrete always settles, and you will inevitably lose a bit of material during mixing and transport. A good rule of thumb is to add a 5-10% contingency to your final volume. This simple buffer saves you from the nightmare of running short halfway through a pour.
Another classic error is inconsistent measurement. Using “shovelfuls” as a unit is a recipe for a weak mix. The amount on each shovel can vary wildly from one to the next. Always use a consistent container, like a sturdy bucket, to measure out every single ingredient for every batch.
Factoring in Real-World Conditions
The famously unpredictable UK weather has a direct impact on your concrete. Pouring in cold, damp weather slows the curing process right down. On the other hand, hot, windy days can make the surface dry too fast, leading to cracks. Always check the forecast and be ready to protect your fresh pour with insulating blankets in the cold or by lightly misting it in the heat.
Precision is just as vital in structural work, especially when designing retaining walls, where the integrity of the mix is everything.
Underestimating your material needs is a costly mistake. The price of having a small amount of leftover aggregate is tiny compared to the cost of emergency deliveries and project delays from running out of materials mid-pour.
This focus on getting it right the first time is more critical than ever. While UK concrete construction product manufacturing revenue hit £3.7 billion, economic pressures mean efficiency is king. A good mixing concrete calculator does not just give you ratios; it helps slash costly errors by 15-25%, a saving that makes a real difference to any project’s bottom line.
Ordering and Site Management Tips
Here are a few more hard-won lessons that will help you nail the job from start to finish:
- Plan Your Access: Before the lorry arrives, figure out your access route. Hiring a site dumper can be a game-changer. It lets you shift bulk bags of sand and aggregate right up to your mixer. It saves a huge amount of time and back-breaking labour.
- Do Not Mix Brands: Try to stick with the same brand and batch of cement for a single, continuous pour. Even minor variations between products can lead to noticeable differences in colour and setting times once it has cured.
- Check Aggregate Quality: Make sure your sand and gravel are clean. If they are contaminated with clay, silt, or organic matter, it will seriously weaken the final strength of your concrete.
By thinking ahead and anticipating these common issues, you can make sure your project runs smoothly from the first calculation to the final trowel.
On-Site Questions Answered
Even the most straightforward concrete job can throw up a few curveballs. Here are some of the most common questions we hear from contractors on-site, with practical answers to keep your project moving.
How Should I Adjust My Concrete Mix for UK Weather?
The British weather is famously unpredictable, and it has a huge impact on how concrete cures. In cold, damp conditions, the curing process slows right down. A good trick is to use a slightly lower water-to-cement ratio and always cover fresh pours with insulating blankets to protect them from frost.
Hot, dry weather brings the opposite problem: the mix can lose moisture too fast, leading to shrinkage and cracking. To counter this, lightly dampen your sub-base and aggregates before mixing. It is a simple step, but it slows the evaporation process considerably. If you can, try to avoid pouring in extreme heat or cold altogether.
What Is the Difference Between Sharp Sand and Builder’s Sand?
Getting this right is absolutely critical for the strength of your final pour. For any structural concrete—foundations, slabs, driveways—you must use sharp sand. Its gritty, angular particles lock together, creating a strong and durable matrix that can take heavy loads.
Builder’s sand, on the other hand, is much finer with rounded particles. It is ideal for mortar where you need a smooth, workable mix for bricklaying, but it will seriously compromise your concrete’s integrity. Using it in a structural mix is a false economy you cannot afford to make.
Using builder’s sand in a structural concrete mix is one of the most common DIY mistakes. It leads to a significantly weaker result that is prone to crumbling and failure over time. Always double-check you have the correct aggregate for the job.
Can I Use Different Brands of Cement for One Job?
It is a bad idea, and we strongly recommend against it. Mixing different brands of cement, or even different batches from the same manufacturer, is asking for trouble on a single continuous pour.
You will often find slight variations in colour, setting times, and chemical makeup between batches. This can lead to a patchy, inconsistent finish and, more importantly, potential weak spots in the cured concrete. For a uniform slab and predictable performance, buy enough cement of the same type and brand to get the entire job done from the start.
How Much Water Is the Right Amount for a Concrete Mix?
The water-to-cement ratio is a delicate balance. Too much water creates a weak, porous mix; too little, and it becomes stiff and impossible to work with. A solid starting point is a water-to-cement ratio of around 0.5. For a standard 25kg bag of cement, that is roughly 12.5 litres of water.
The best approach is to add the water gradually. Start with about two-thirds of your estimated amount, get it mixed in, and then add the rest slowly until you hit a smooth, workable consistency. The ideal mix should hold its shape when trowelled—not too sloppy, but not too dry and crumbly either.
At Aylsham Plant Solutions, we provide the machinery that makes any concrete project manageable. From high-capacity cement mixers to versatile site dumpers that save you time and labour, we have the right equipment to ensure your pour goes smoothly. Visit our website to see our full range of plant hire options and get a competitive quote for your next job in Norfolk or Suffolk.
Related Posts